
Rigged Monster ASSET instructions
Blender Version
That means you should use latest 4.2 LTS version but potentially you can load the model in other versions. I recommend to use a LTS version to avoid disfuntions, especially regarding the bone sistem, as it has been changing latelly.

Add ons
This model uses rigify, the by default Blender bones system.

You would need to activaty it first.
Despite the interface to control bones is visible, but I like to install this addon:
Add-ons has become legacy, so this can be different in latest versions.
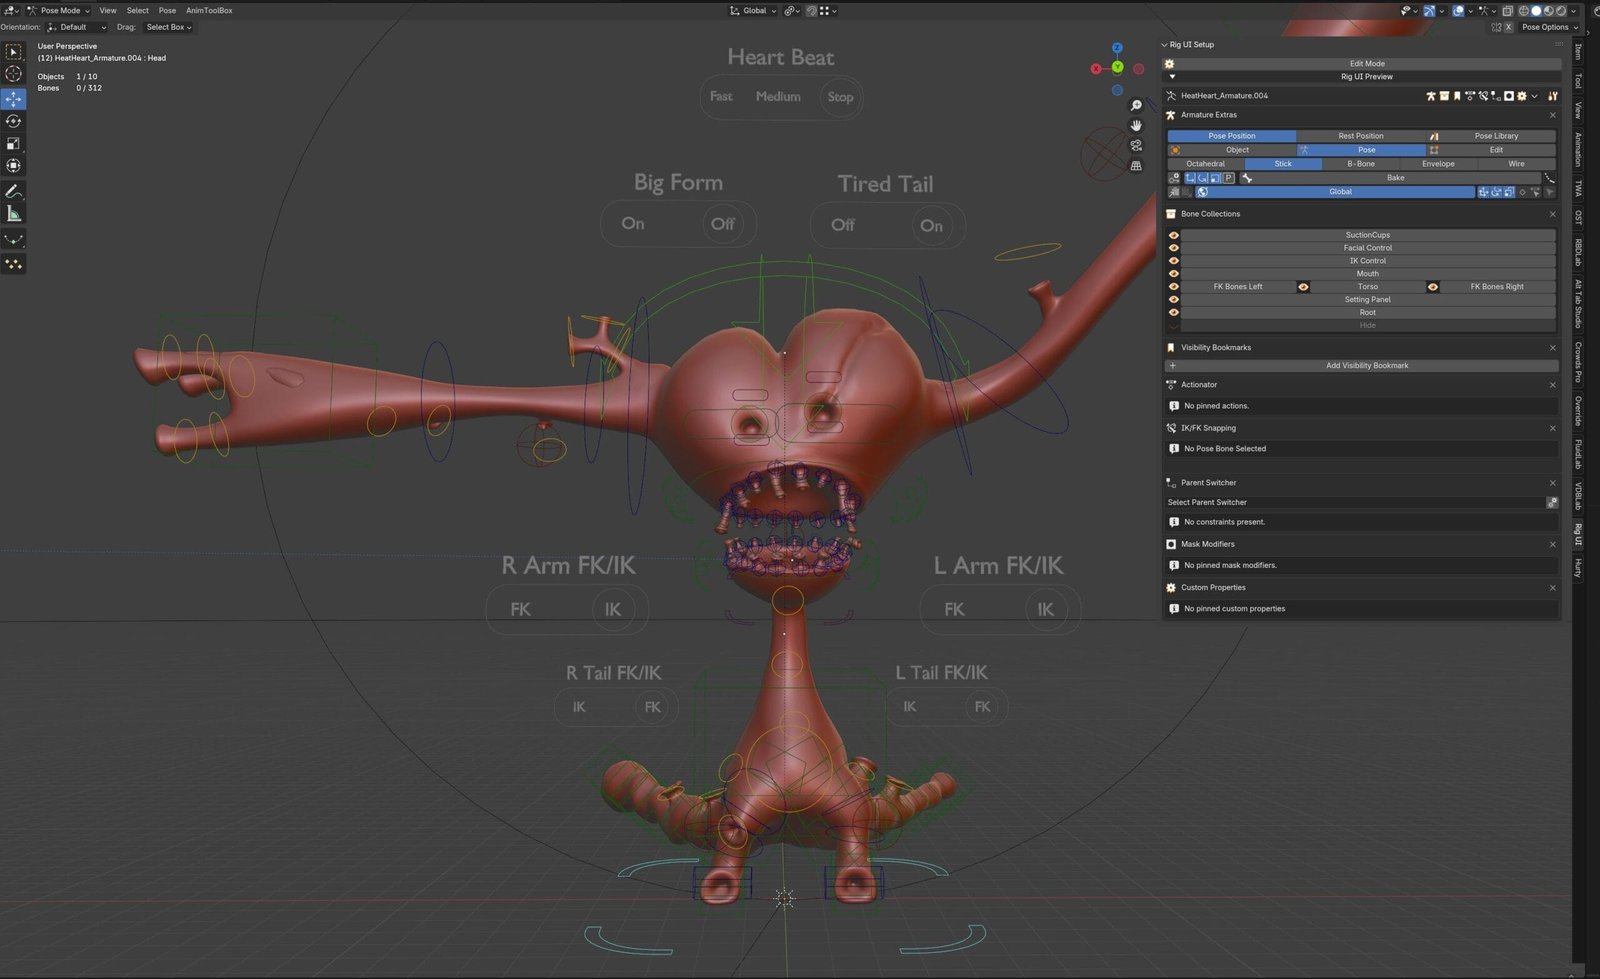
I’ve also been using Rig UI.
I’m using Rig UI, this add on let’s you create a visual interface to control your bones. This way you can rename, replace and select them by different ways. For example: I create different buttons for head and arms, etc.
This is a free simple version: https://nda.gumroad.com/l/rig-ui-basic
Controls
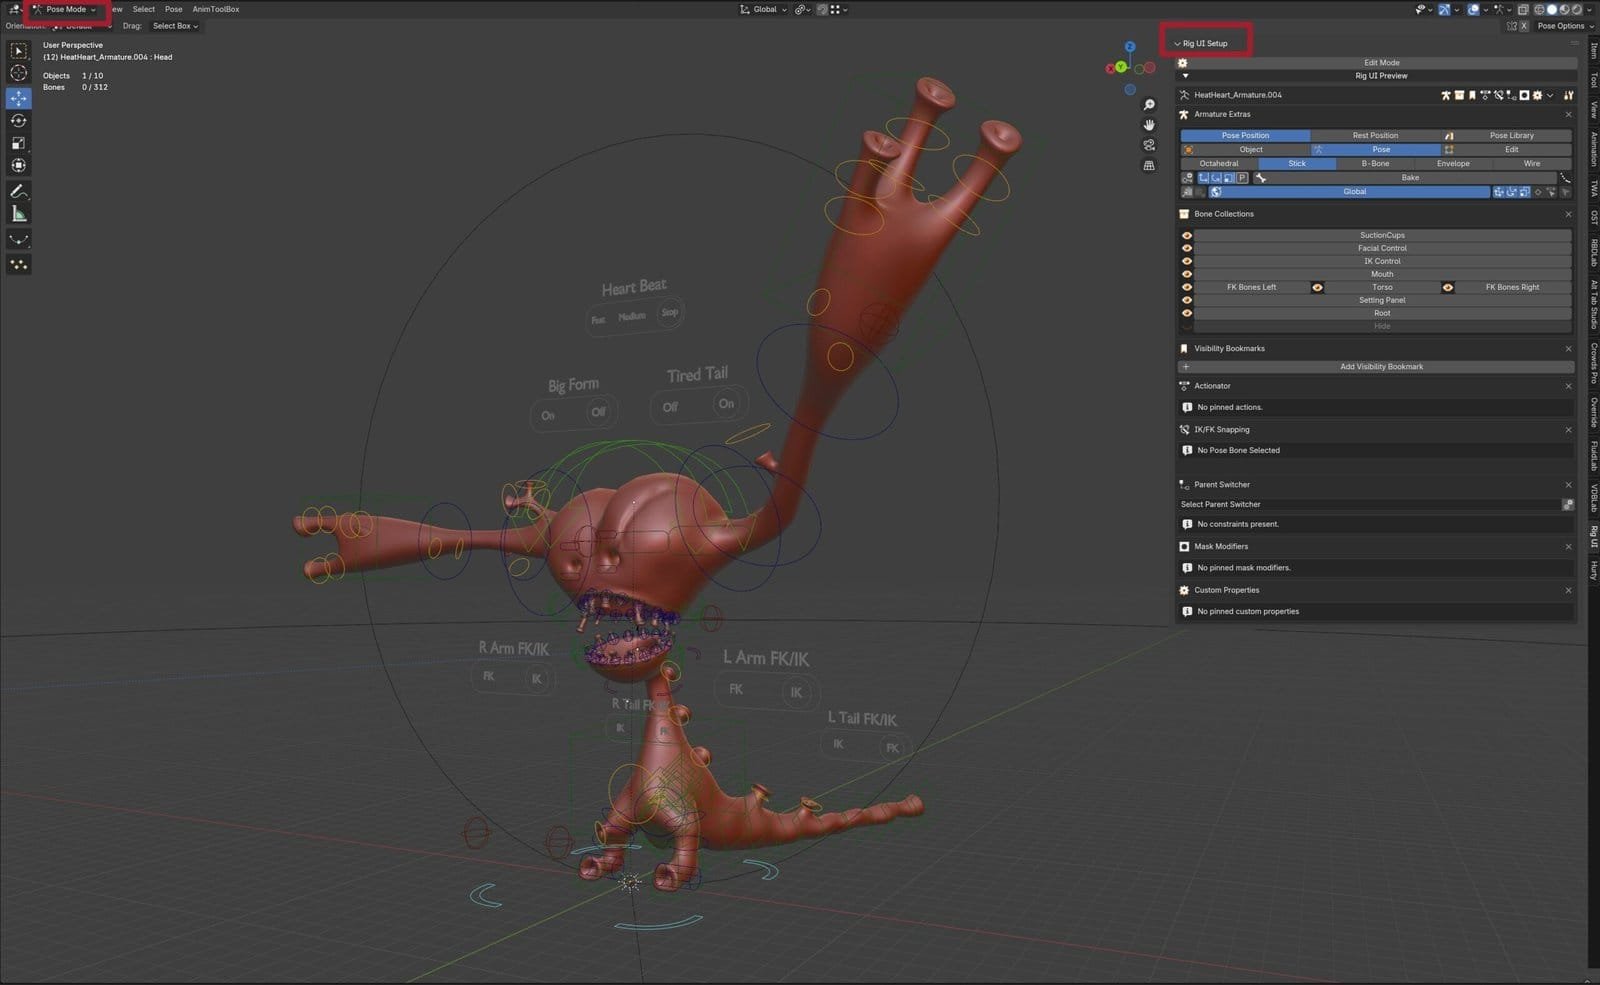
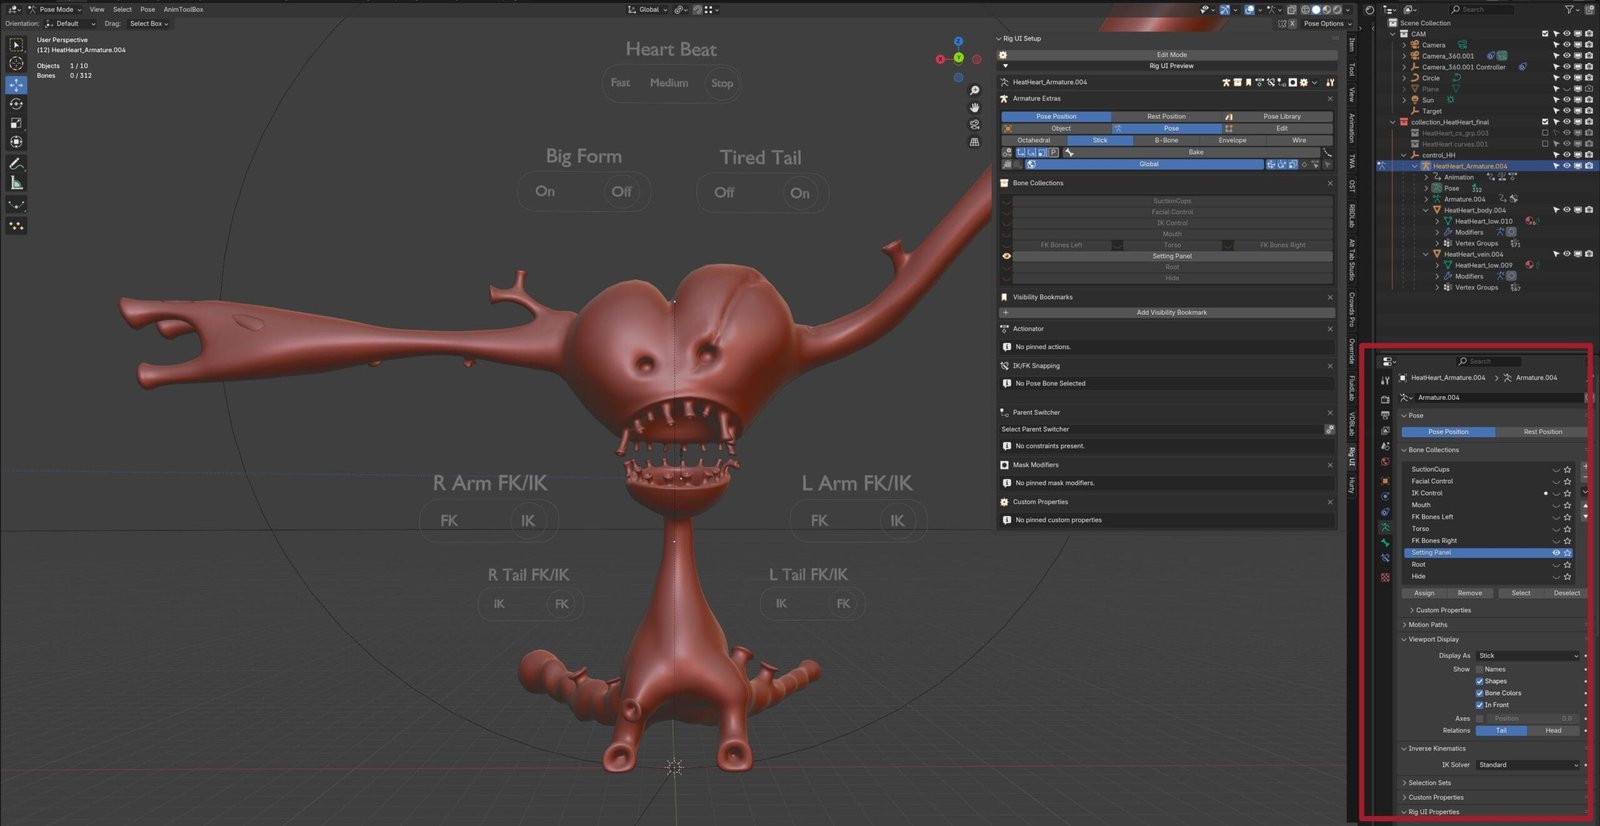
Now that you have your model, go to Pose Mode.
If you don´t wanna install Rig UI Setup you can go to the armature layers setup (down-left area).
Rig UI show you disable layers and let you quick selections.
This monster has arms, body, tail, etc. Some positions would need combinate movments as arms can growh and it is designed to stretch. If you break the model, restart position and start again.
You can save your poses as keyframes.
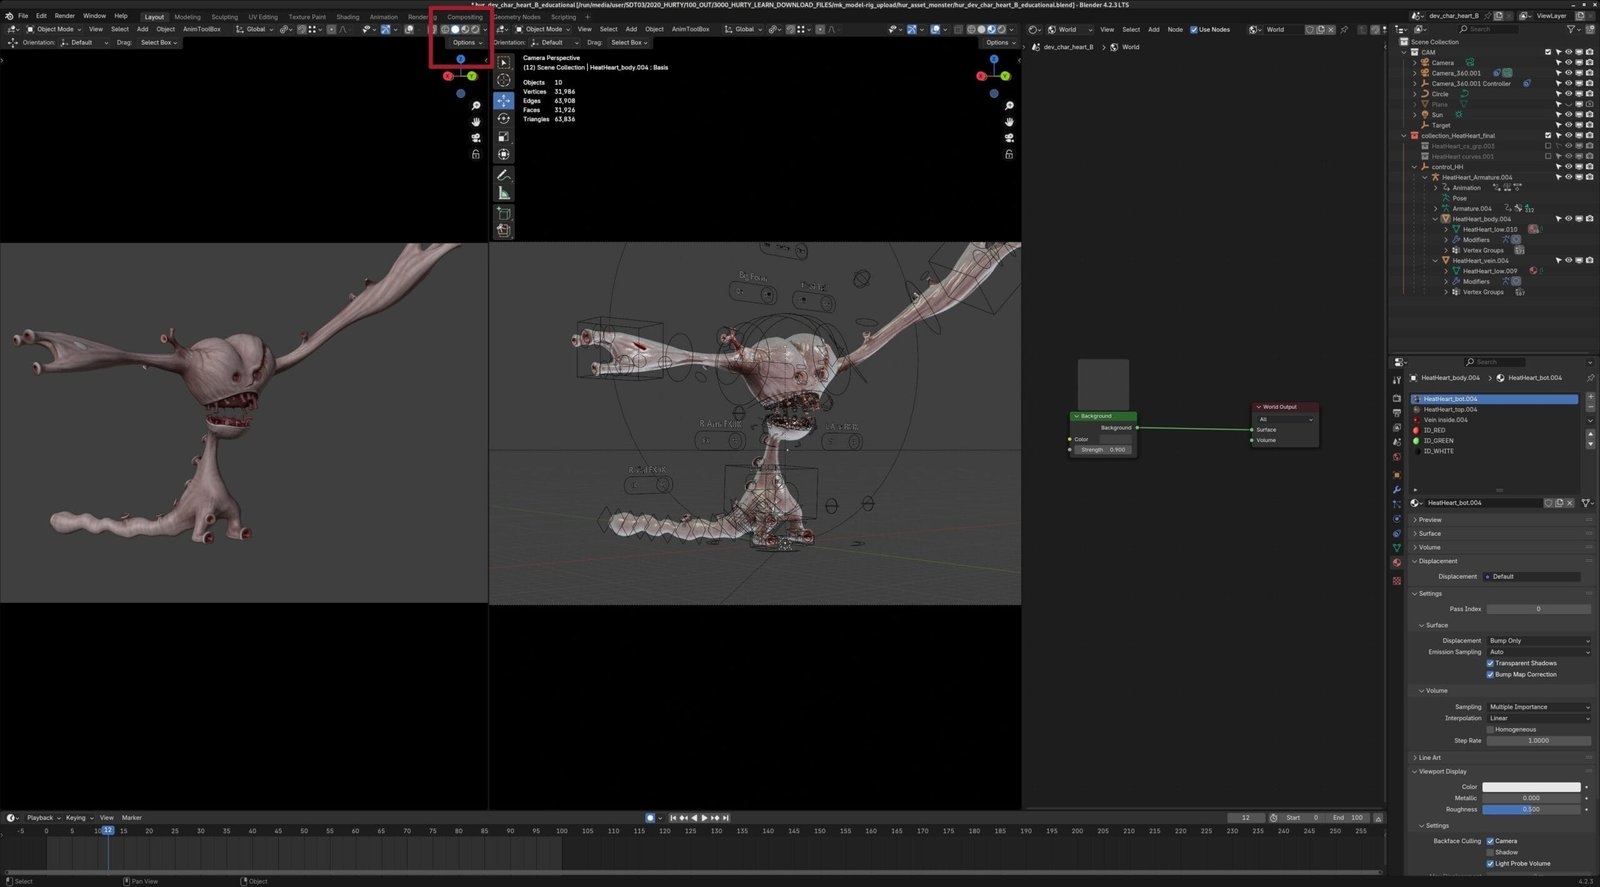
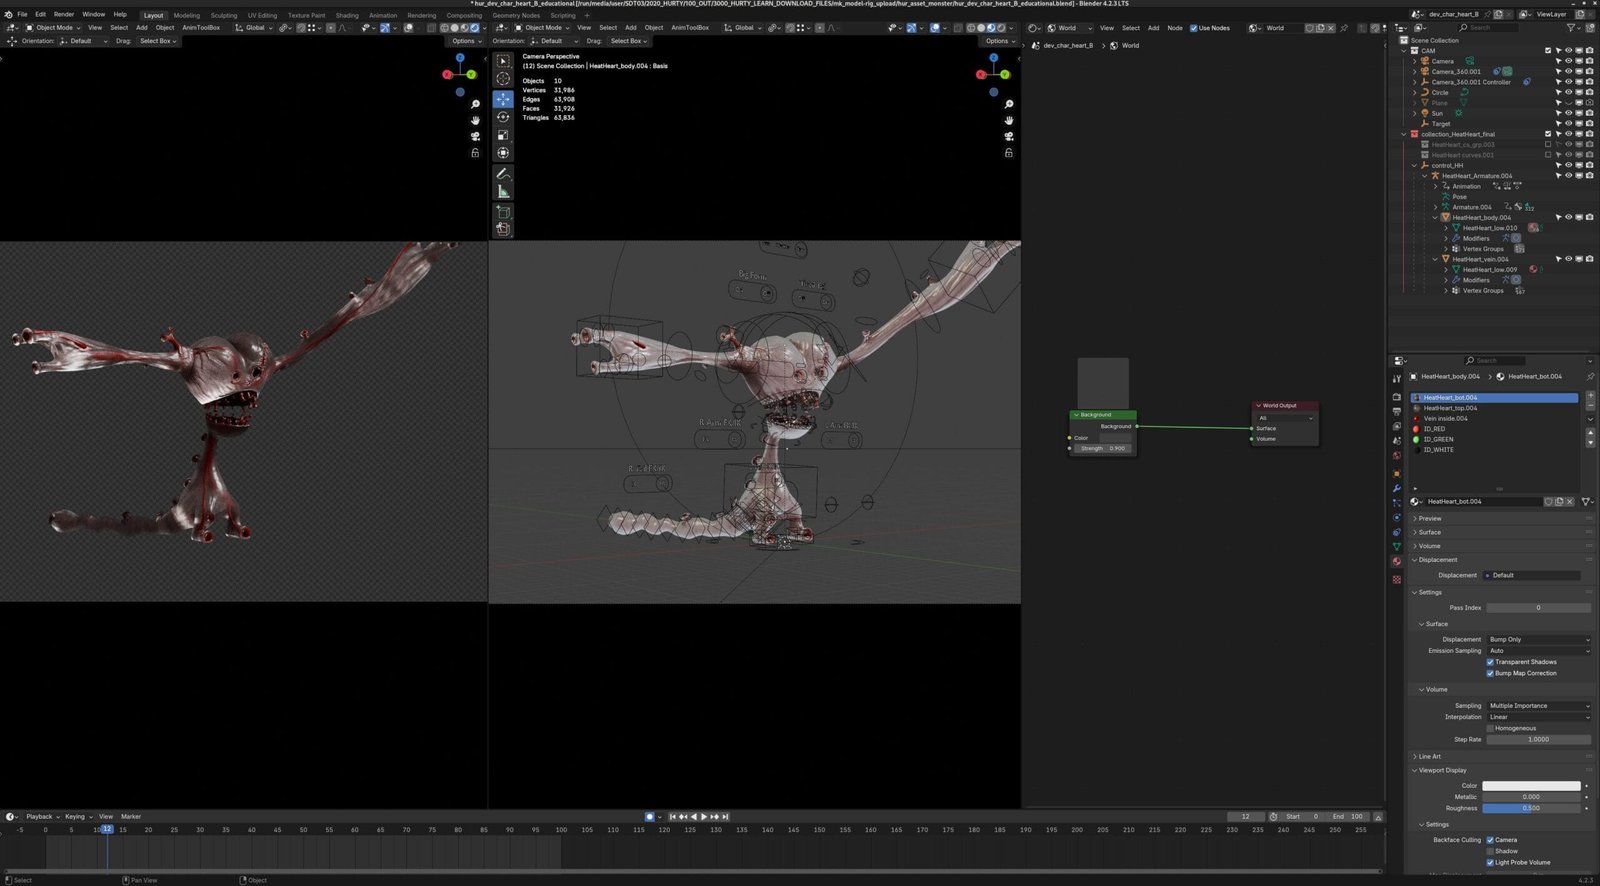
Textures
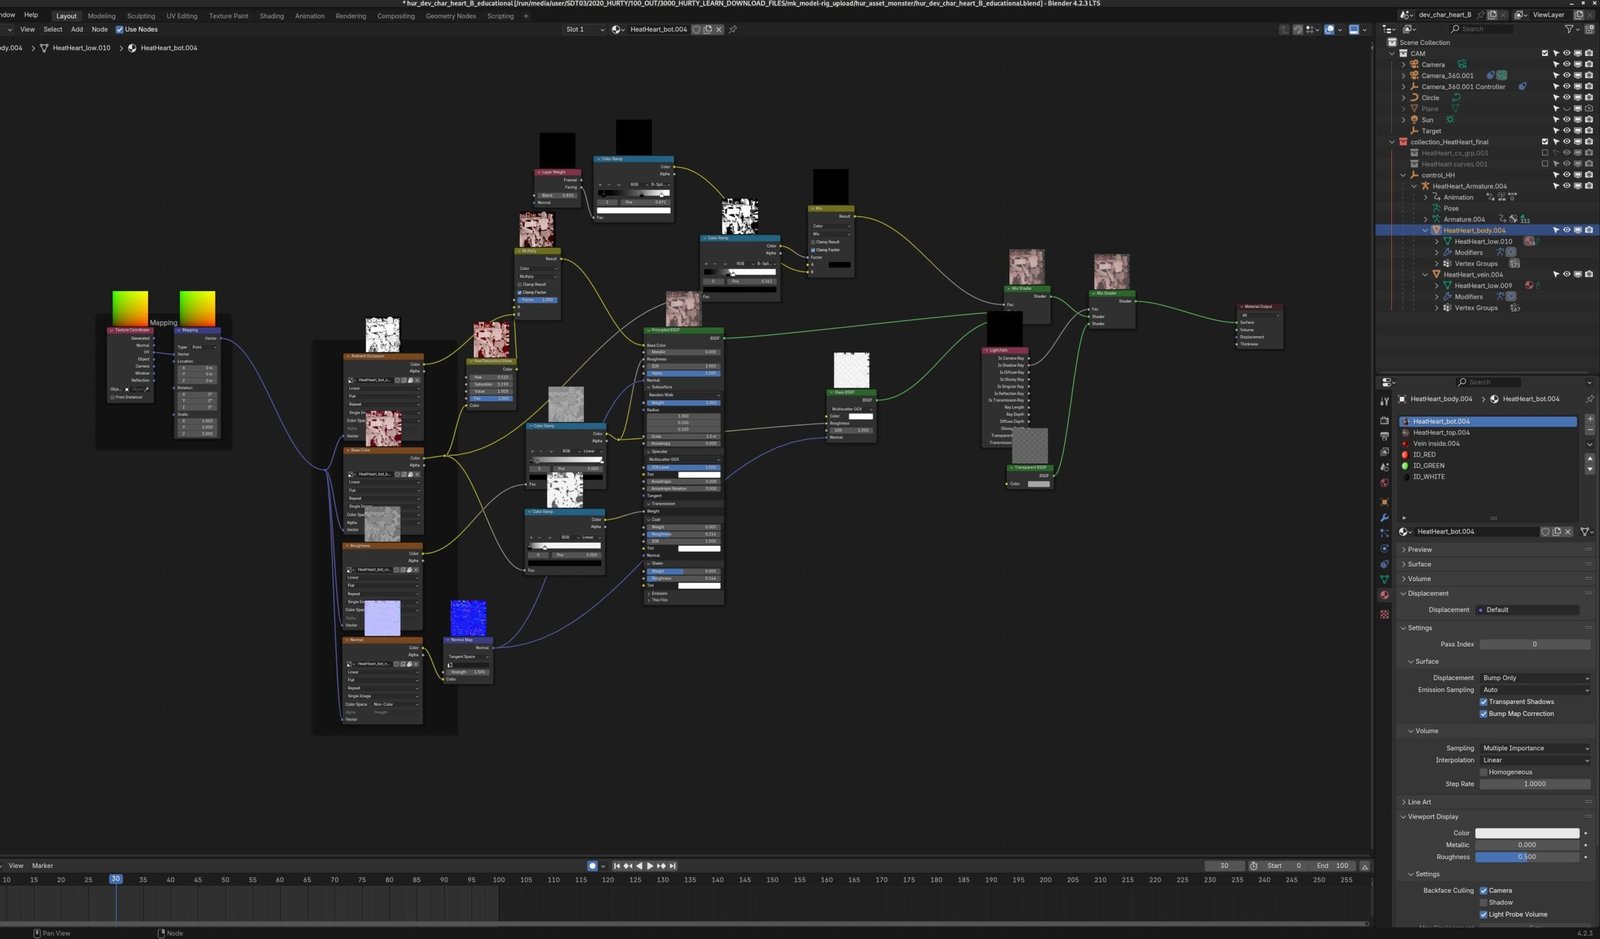
Textures are splitted in TOP and BOTTOM meshs, if you need to refine lighting.
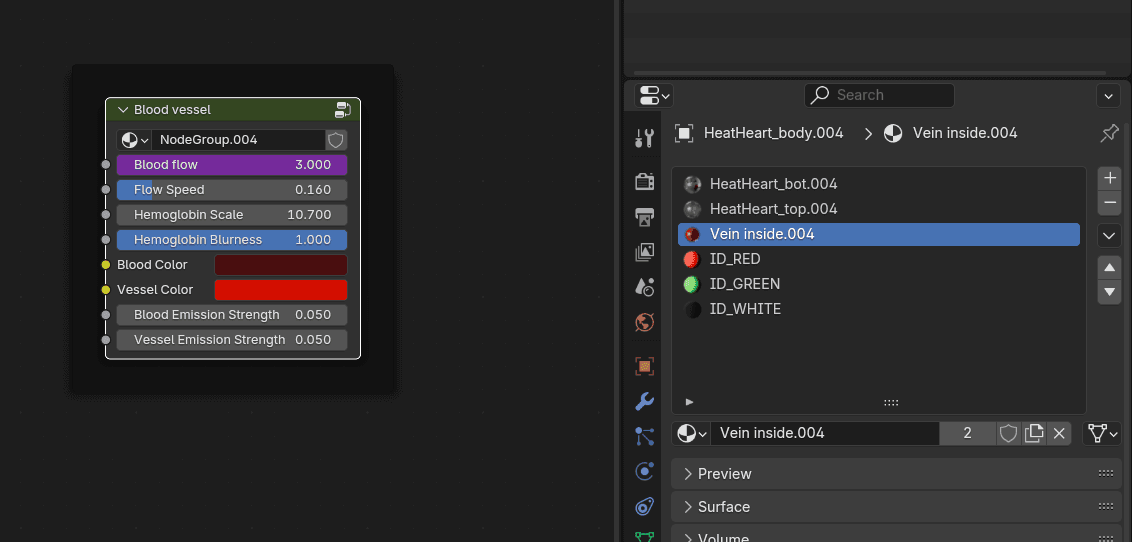
The Blood vessel letś you to animate the interior flow if you wanna tune up.
Feel free to ask if you need more info.